The possibility to change the admin panel theme is available in GrandNode starting from the 4.90.0 version. It's a pretty advanced feature that allows you to customize the admin panel appearance for every user or store. The whole process is straightforward.
Create theme directory
In the Areas/Admin create a Themes folder and inside it create a directory for your new theme. You should have the following file structure - Areas/Admin/Themes/MyCustomTheme.
Correct theme directory structure
The flow is similar to the storefront theme creation. In the theme catalog, create two directories Content and Views. Content will contain all CSS, JSS files, and Views catalog will contain all CSHTML files for your new theme. If you copy the original file to the theme, it will take the custom file first. If a specified file doesn't exist in the theme directory, it will be taken from the original Views folder.
 /Areas/Admin/
 ├── Themes/
 │   │   ├──MyCustomTheme/
 │   │   │   ├── Content/
 │   │   │   ├── Views/
Add a _ViewStart.cshtml and _ViewImports.cshtml
In the theme directory, add _ViewStart.cshtml and _ViewImports.cshtml. By default, your theme will inherit from the default admin panel theme.
Copy from existing theme both files to your theme directory. Without them, you won't be able to run your theme.
How to set the theme for vendor or store?
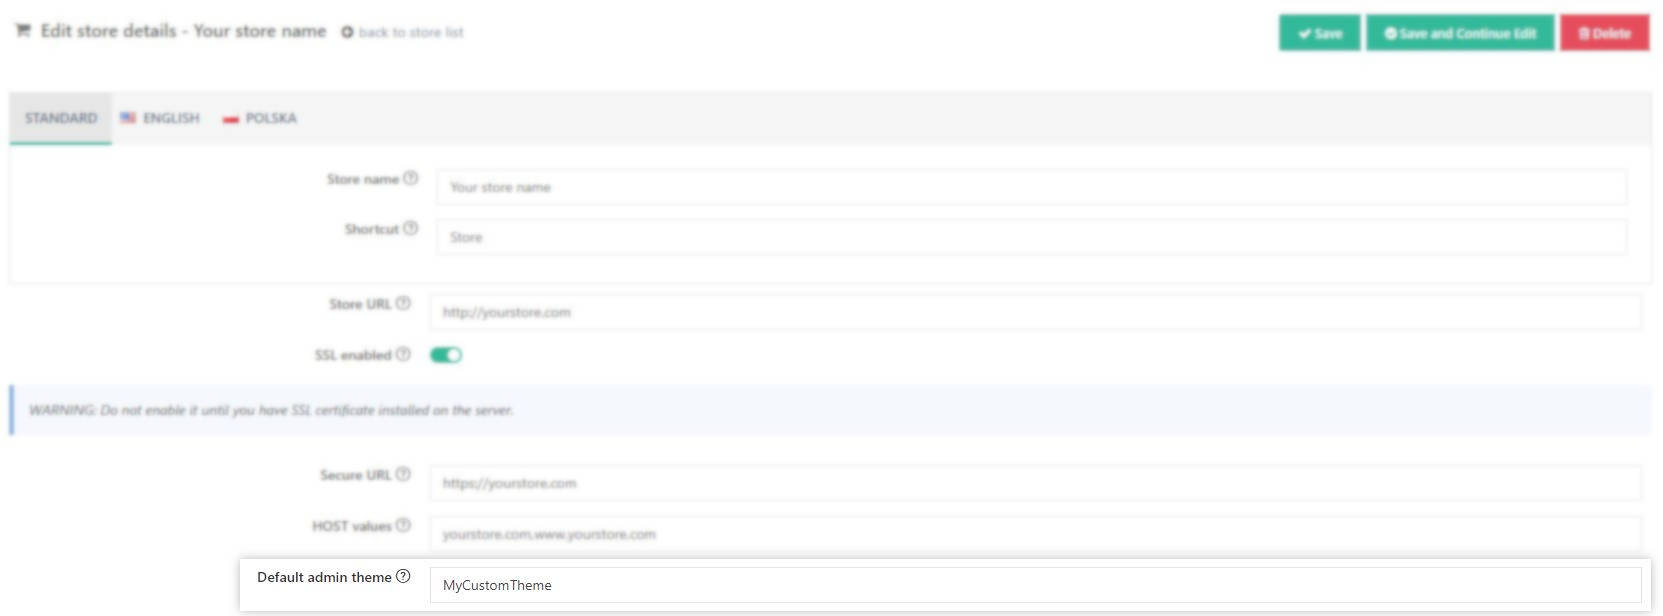
In the newest version of GrandNode, you will see new fields in the store configuration. If you want to assign a specified theme for a particular store and make every store unique with a customized admin panel theme. Open the store configuration page under Configuration -> Stores. And in the Default Admin Theme field provide the name of your newly created theme.
A similar flow is with the vendor theme. Go to Configuration -> Settings -> Vendor settings and provide the name of the default vendor theme. Don't forget to enable selecting admin panel by changing the AllowToSelectAdminTheme from False to True in All settings (advanced).


