The first step is to create a MongoDB Database. To do that, we have to log in to MongoDB Atlas Account. If you don’t have one, it’s time to create it. If you have Account, please go to Account dashboards and create your first cluster.
For tutorial purposes I’ve created the following one:
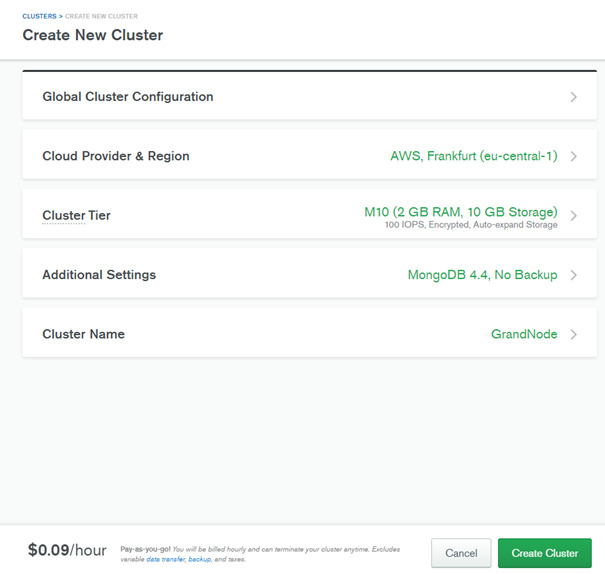
The creation process is very simple. The only thing you need to do is press the create button. Now you can take a sip of the coffee, the new cluster is being created.
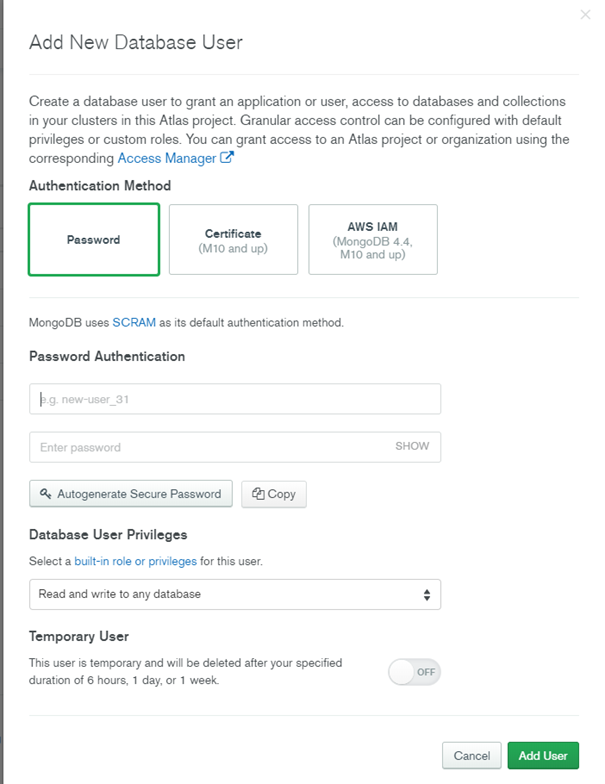
It’s also important to provide the most secure application, please use the inbuilt features of MongoDB Atlas, and secure your new database. You will use them later during the GrandNode installation.
Now it’s time to create your hosting. To ease up the whole process, we will use the DigitalOceans’ One-Click GrandNode application.
First of all, we need to create an account or log in to an existing one. You can use our referral link to create an account — https://m.do.co/c/8eafb78fb6ae As a benefit you will receive the 100$ in credit on DigitalOcean, So you will be able to boost up your store for free.
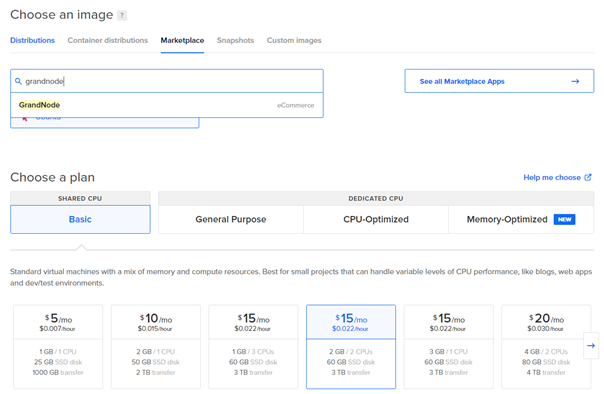
The DigitalOcean Marketplace is available directly from creating a new droplet window. To find the ready-to-install package with GrandNode, All-in-One e-commerce platform, enter its name to the search box and press the first result in the search box.
Now it’s time to think about the way how will you connect to the server. The safest way is to generate the SSH key, however, you are able to create a root password and login via Putty with root login and chosen password.
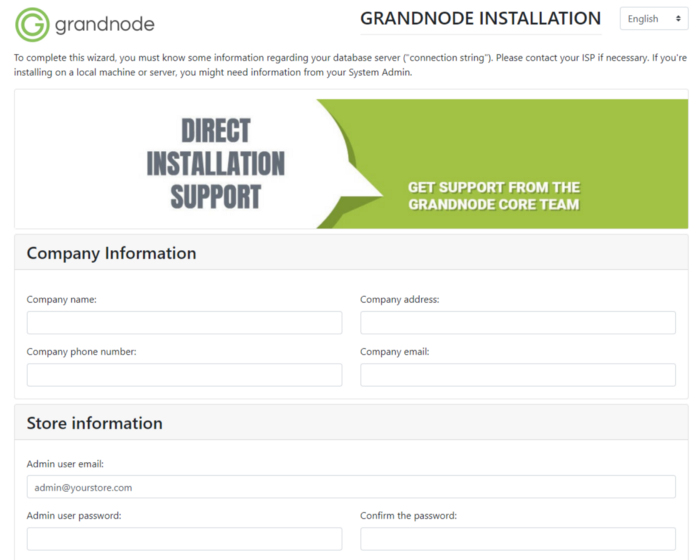
If everything has been configured correctly you should be able to enter your new store and see the Installation form. Provide the company details, then configure your admin account and finally provide the connection details for MongoDB Atlas.
