

Short guide for developers, how to install GrandNode with Docker and MongoDB on cloud solution DigitalOcean.
- The first step is to create an account on DigitalOcean.com. You should enter the https://digitalocean.com. After account creation you will get a bonus 10$ credits. If you want to use this server only for the test purposes it will be enough for 2 months.
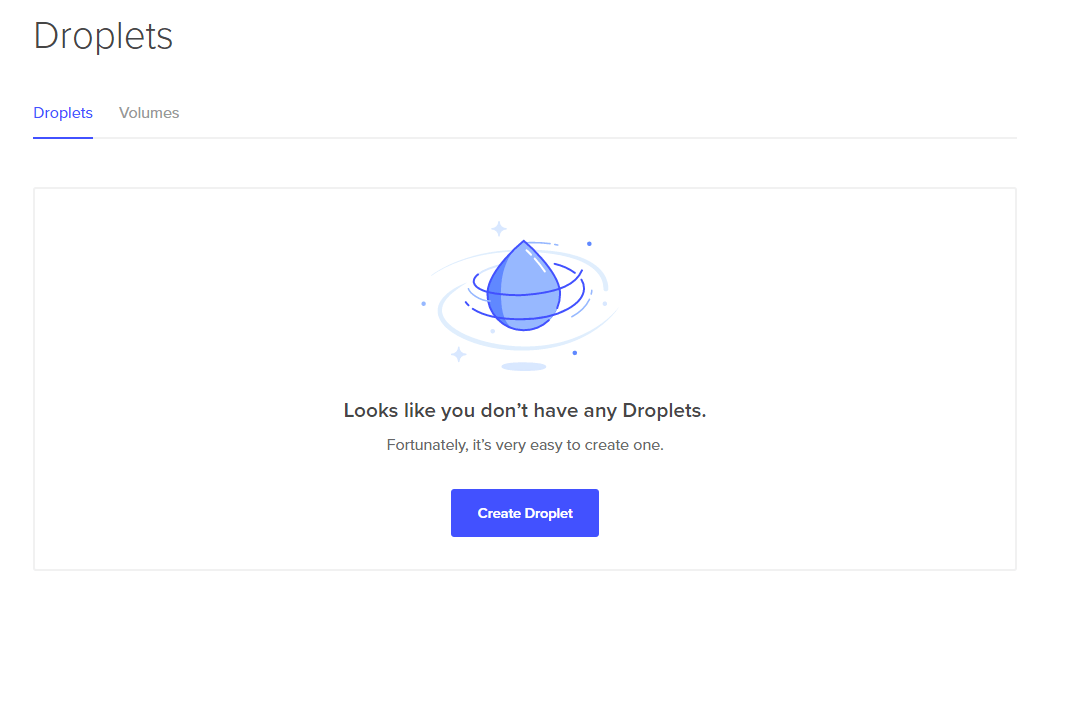
- Do we have an account? Great. Now you need to create an environment. In this purpose login to your account, from the main page go to Droplets section and click „Create Droplet”. It’s shown on the screen below:
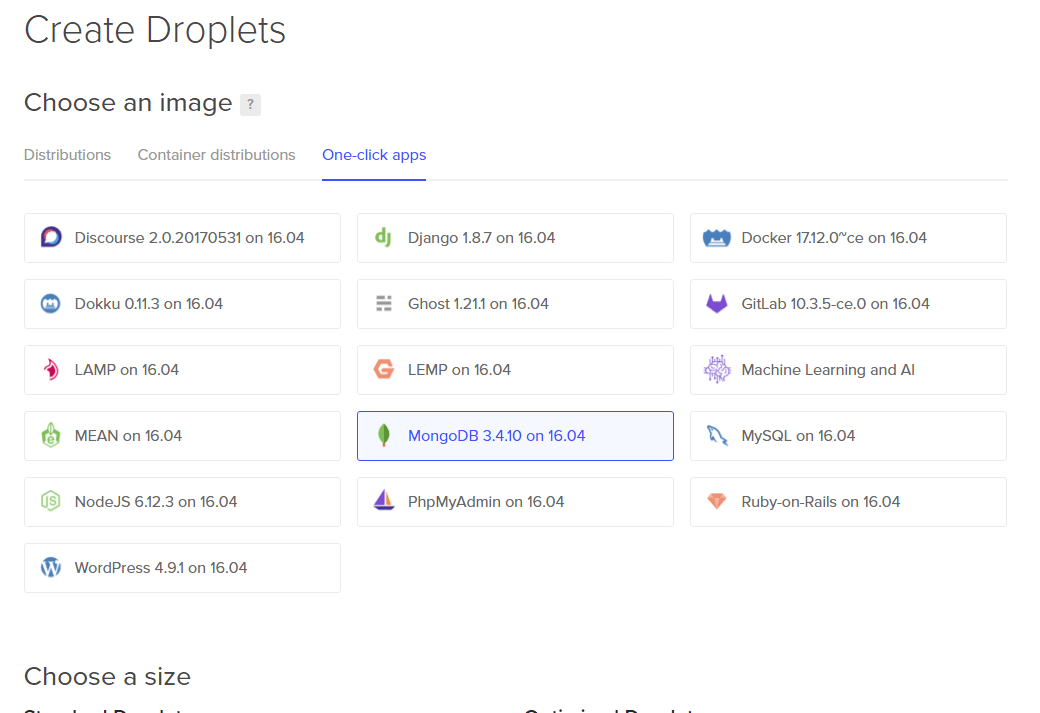
- The process of droplet creation is very intuitive. Select „One-Click Apps” and from the available applications choose Docker 17.12.0 ce on 16.04. Now choose the droplet size that suits us, I’ve choosen the smallest one. It is worth noting here that despite this, GrandNode works very efficiently. We choose the nearest location (or the nearest to our target group). Change the name to a more friendly and that’s all. After a minute of creation, Droplet is ready to use. The password has been sent to the email.

- We already have Docker. Now we will take care of installing MongoDB. Click „Create” -> Droplet. Follow the steps made before, but click the „MongoDB 3.4” from „One-Click apps”.
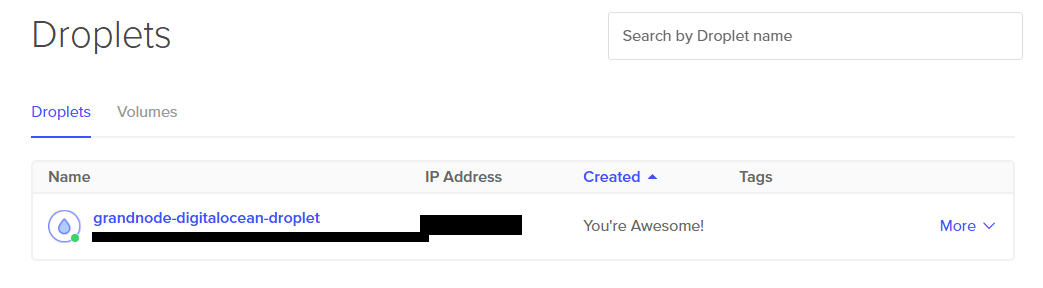
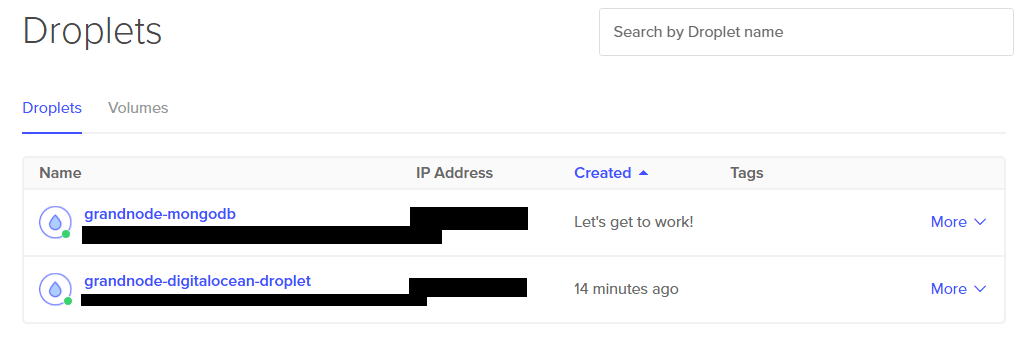
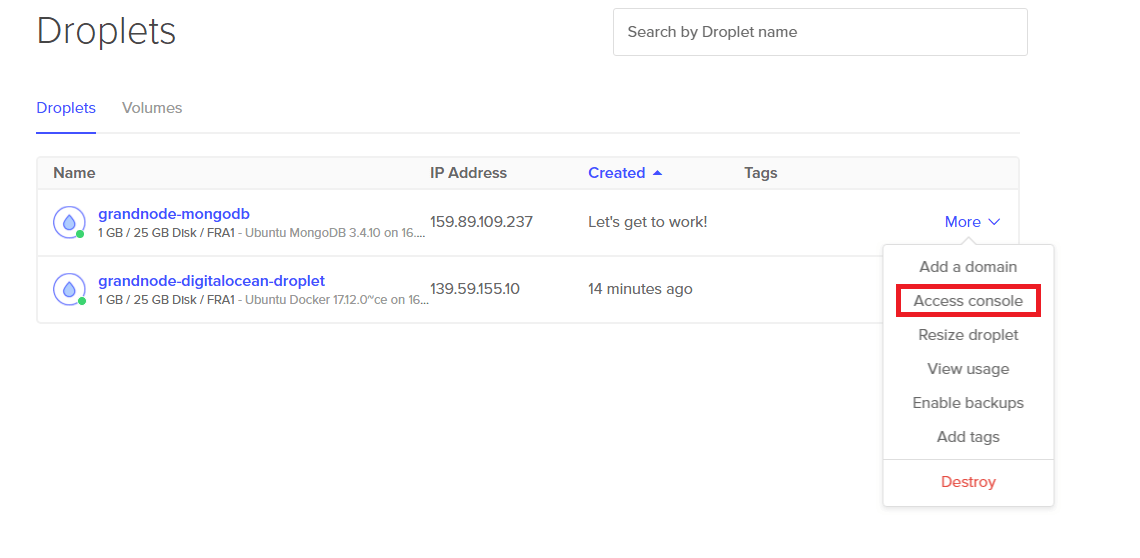
You will see the following list of Droplets:
- Allow the remote access to your MongoDB.
- The first step to allow remote access to your MongoDB is to login to your Droplet console with password which you get on mail. DigitalOcean will ask you for root password change. Do it.
- When we successfully changed password, we need to edit the config file of MongoDB. You need to bind 0.0.0.0 IP address in it and enable authorization. Use the following command vim /etc/mongod.conf
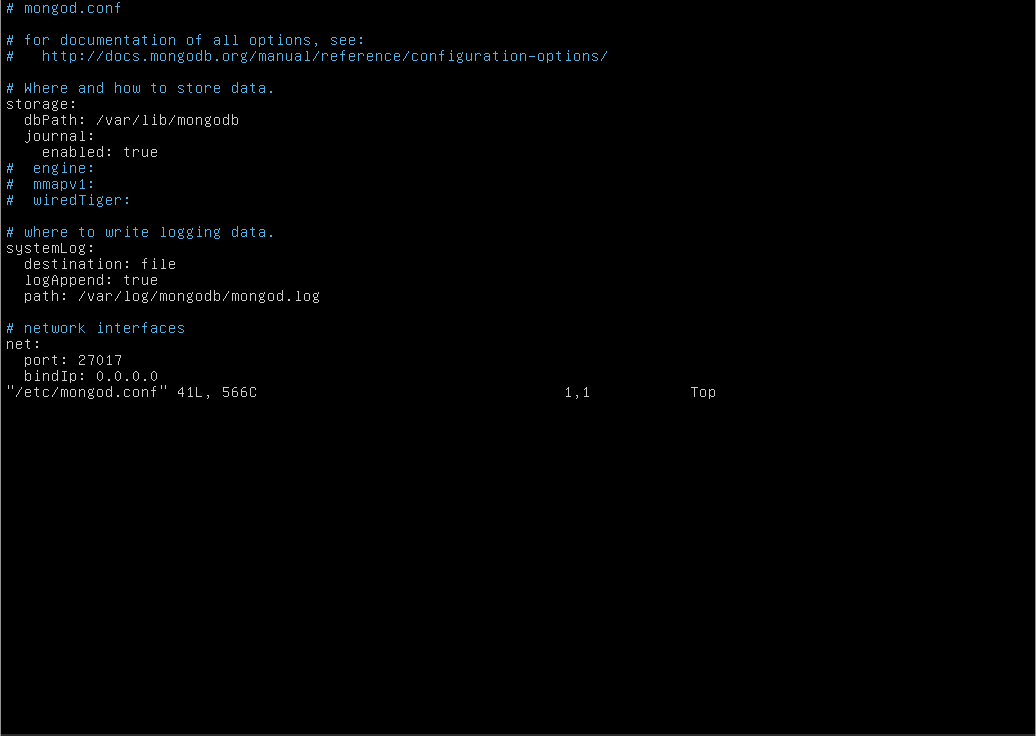
- Go to the line with bindIP and change it from 127.0.0.1 to 0.0.0.0
- DigitalOcean uses ufw (uncomplicated firewall), so we need to unlock port 27017:
- In the command line just write: ufw allow 27017

- And everything is ready. Restart your MongoDB service and go to the next step. Use sudo service mongod restart

- I recommend to use MongoChef, Robo3T or similar solution. Login to your database. Host adres: IP of our droplet. Port: 27017. Login without user and password, we will add it now.
- Open mongo shell and run query:
db.createUser(
{
user: "userAdmin",
pwd: "userPassword",
roles:["root"]
})
- That’s it. Login to your database with created account and create new database. You can use mouse right button and „Create Database”.

- It’s time to create a user in our database. We will use this user to install GrandNode. db.createUser(
{
user: "youruser",
pwd: "yourpassword",
roles:[{role: "readWrite", db: „yourcreateddb” }]
})
- After that, go back to the console and go to the line with „security” line in mongod.conf file and add rule authorization: „enabled”. After that just exit from the VIM by pressing ESC and writting :wq

- And that’s all. We’ve created working MongoDB database and create user for it. No test if we can login to this database. Now, let’s go to the second droplet with Docker and install GrandNode.
GrandNode with Docker on DigitalOcean
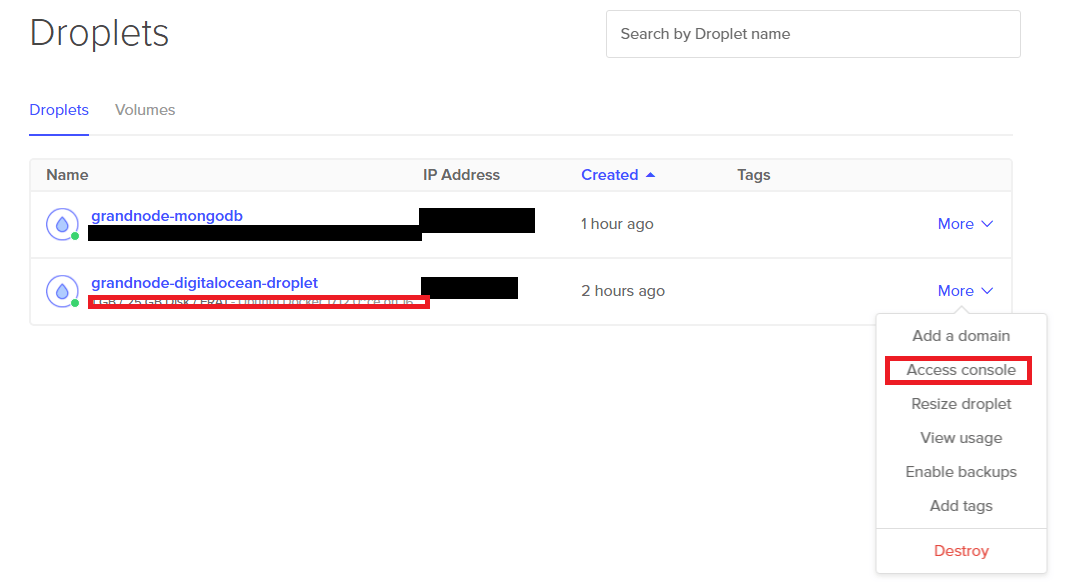
- Go to created Docker, by clicking „Access console” in Droplets manager. System will ask you again for password. Change it in the same way like before in the case of MongoDB password.
- Ok, that’s all.
- Now, it will be better to use SSH Client, for example, putty. It will be faster than the browser console.
- Fill the connection parameters. Host: It’s our docker droplet IP. Port: 22.
- When you will connect to your Droplet successfully, login with your root account.
- After successfully login process, we need to download a docker image with GrandNode. We need to pull it from Docker. Let’s do this with docker command – docker pull grandnode/develop
- When this process will end, we need to run our application from downloaded image. To do that, we need to use another docker command. Use: docker run -d -p yourappip:80:80 --name yourappname grandnode/develop. Where yourappip is a your Docker droplet IP and yourappname is just a name of your container, you can use the name of your store. You should know that this command download the newest develop package from our github. It’s recommended to use released versions like 4.00, 4.10 etc.

- Now, let’s start the created container. You can do it via command: docker start yourappname
- It’s time to check our store. Open your favourite browser and in the URL field enter the ip of your droplet with :80 in the end of URL. We should see the GrandNode installation screen. MongoDB server name – Our MongoDB Droplet IP. In the database, user and password fields we should enter the database, user and password which we created in the 14 and 15 step. After successfull installation we should restart the application manually. Go back to putty and run the command docker: docker restart yourappname where yourappname is a name of the created container in the step 7.
- Refresh the store and that’s all. Simple and fast way to run GrandNode on your own hosting.
Comments
Shadi
Patryk
Shadi
Shadi
Patryk
Patryk
Antonio
https://www.digitalocean.com/community/tutorials/initial-server-setup-with-ubuntu-20-04
https://www.digitalocean.com/community/tutorials/how-to-install-mongodb-on-ubuntu-20-04
https://www.digitalocean.com/community/tutorials/how-to-configure-remote-access-for-mongodb-on-ubuntu-20-04
https://www.digitalocean.com/community/tutorials/how-to-secure-mongodb-on-ubuntu-20-04